remote work skills elearning module
This interactive module teaches workers at Peak Leadership how to thrive in a remote role; engaging animations, scenario-based practice, and various methods of interactivity walk learners through the essentials of communication best practices, remote work technology tools, and scheduling tips.

Approximately 41% of US employees work remotely or from a hybrid model (Forbes). This training helps employees find success and balance in their remote work life. PEAK Leadership is a fictional company created for Tim Slade’s eLearning design challenge. The project teaches productivity, communication, and scheduling through instructional design methods such as chunking, interactivity, and branching scenarios. I built this eLearning around essential adult learning theories by offering learner freedom (open menu), a problem-based content approach, and practical tools for immediate implementation.
Responsibilities: Instructional Designer, eLearning Developer
Target Audience: Remote and hybrid workers
Tools Used: Articulate Storyline, Camtasia, Vyond, Figma, Snagit, Miro
Year: 2023
KPI: Remote employees will reduce daily work time by 20 minutes by implementing effective and efficient scheduling and communication practices.
Overview
PEAK Leadership (fictional company) noticed that their remote employees were overwhelmed and struggling to maintain a healthy work-life balance. In an effort to simultaneously improve employee well-being, efficiency, and effectiveness, PEAK Leadership sought out training for remote workers.
I proposed an eLearning module that employees could fit into their schedules and refer back to as needed. In and effort to not add to overwhelm, the eLearning module includes a variety of tech tools and practical tips for achieving greater balance and productivity in a remote role.
Process
I used an iterative approach that interwove elements of the ADDIE and SAM instructional design models. I kept the business goal at the center of my design decisions and refined the design, text, and instructional methods until I was satisfied that the end result was valuable to the learners.
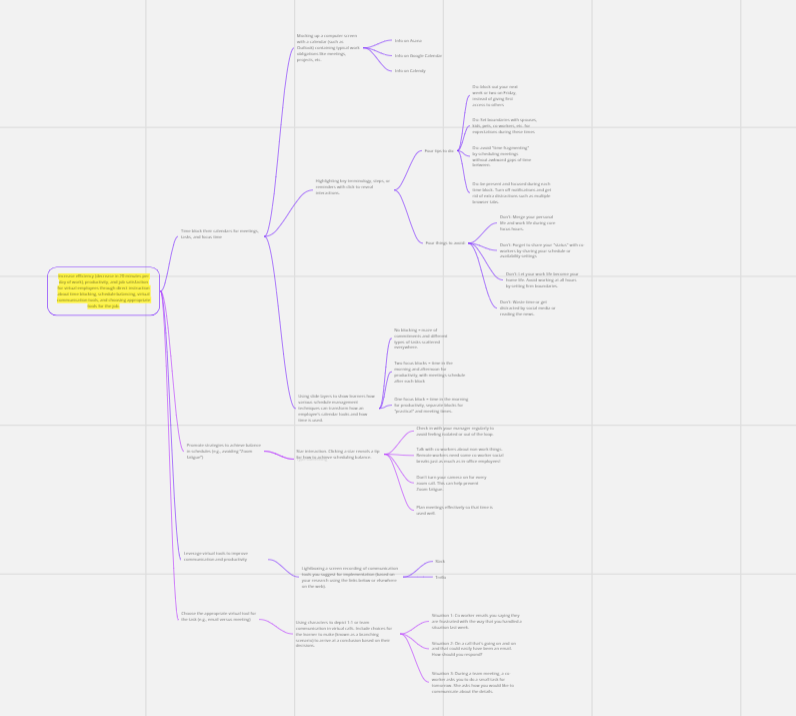
First, I created an action map in Miro based on Cathy Moore’s excellent framework. This action map used the KPI as the starting point. The finished map contained four levels: the KPI, actions that employees needed to perform, possible practice activities of instructional design elements for these actions, and the essential information needed to accomplish these practice tasks and actions.
Text-Based Storyboard
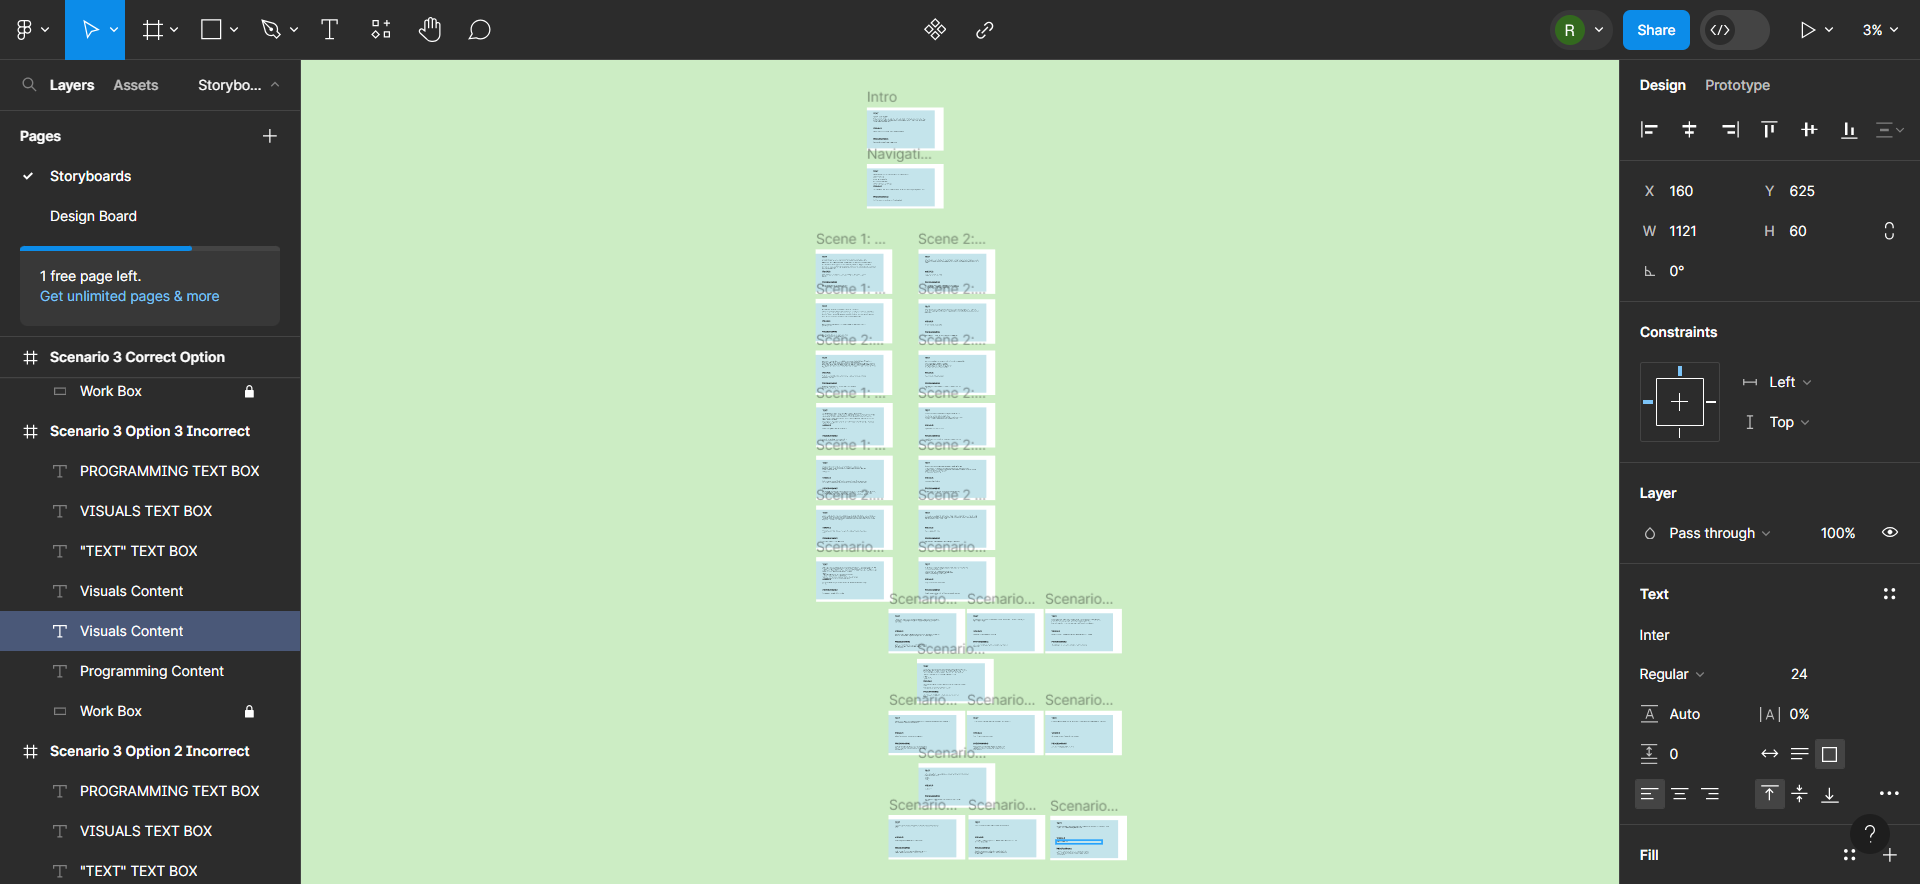
Next, I created a text-based storyboard in Figma. Through this process, I refined my ideas for the instructional design delivery method. I decided to separate the learner journey into two major sections: time management and communication. Each section would include direct instruction with featuring animations, a character guide, voiceovers, and captions. I separated information between many slides, layers, and tabbed interactions in order to reduce the learner’s cognitive load.
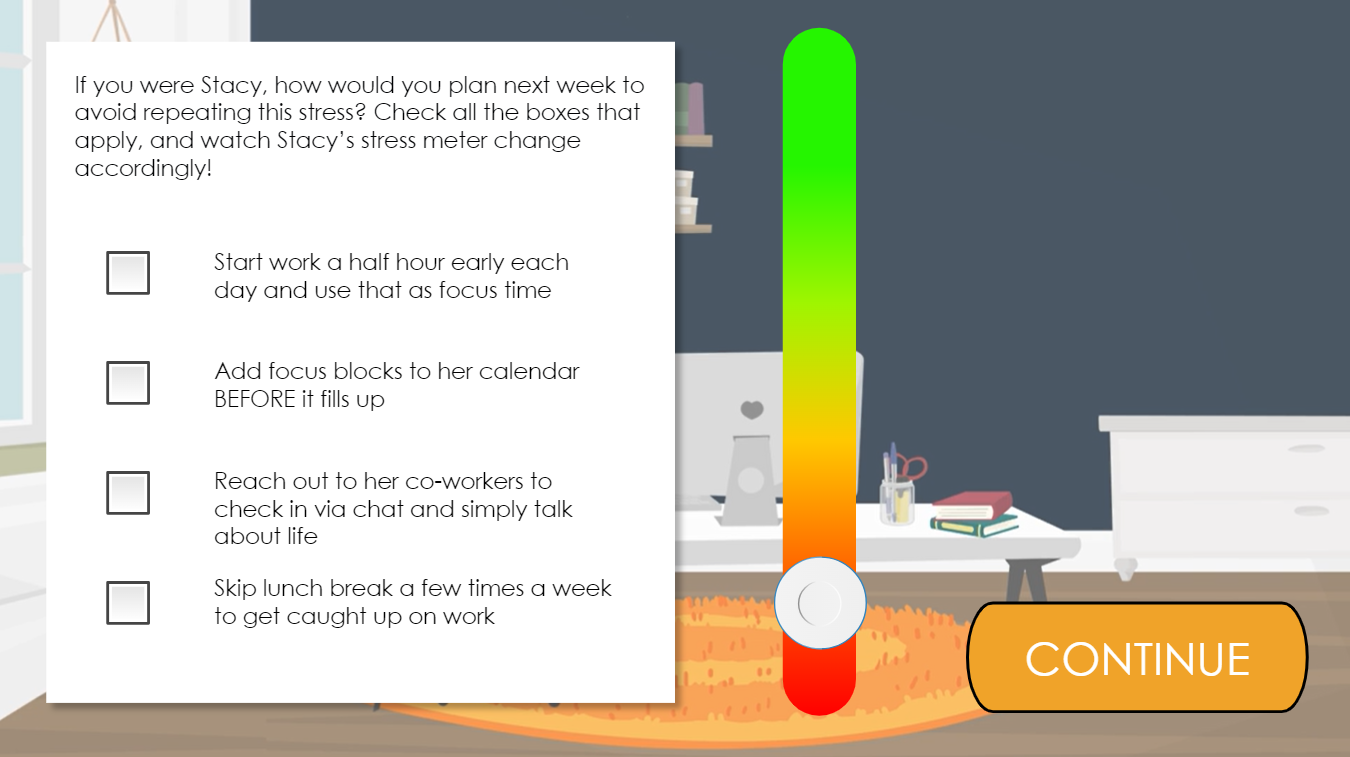
Each section also featured an interactive learning check / practical application. Throughout the storyboard and visual design drafting process, I continued to iterate on my first drafts in order to refine the text, layout, and visual elements until they created a streamlined learning experience.
Design Mock Up
After I completed the text-based storyboard, I built the design mock-up in Figma. For most slides, I included several design iterations. I took user experience, accessibility, and learning theory into consideration during this iterative process.
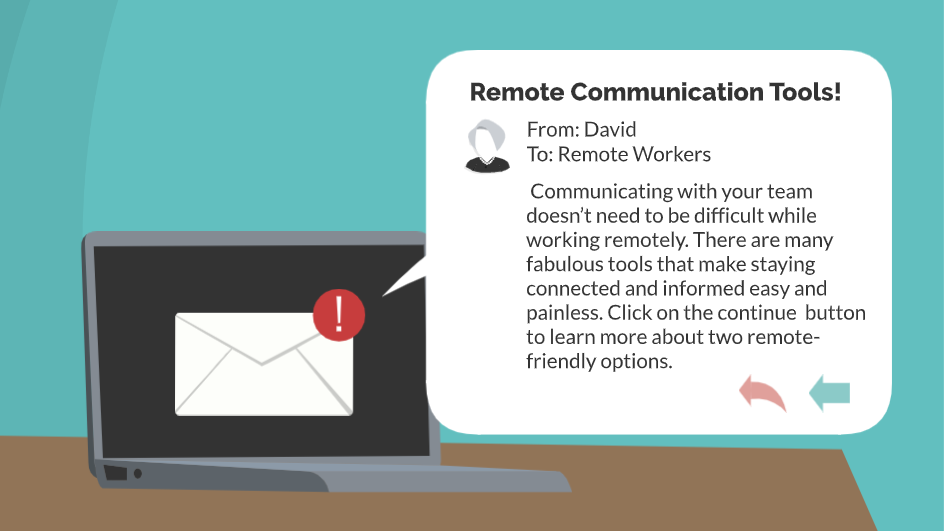
Slides that featured direct instruction from the character guide, David, included captioning on the slide. Because of the captioning, I was mindful to not overwhelm the learner with too many elements on the slide. To avoid this, I adopted a simple background and design strategy for most of the project elements. Additionally, I strove to keep the learner engaged and interested by limiting the amount of audio learners needed to listen to.
prototype
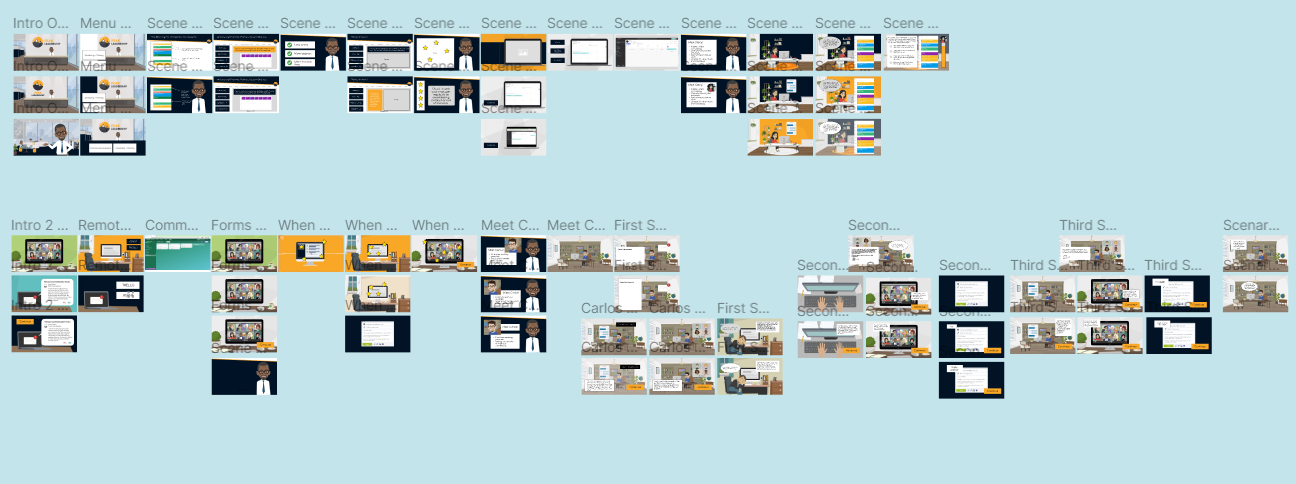
After I completed the design mock-up, I built an interactive prototype in Articulate 360. I integrated animations from Vyond and screen-recordings created with Camtasia and Snagit. I challenged myself to incorporate different ways of presenting content. Throughout the prototype process, I iterated on elements from the storyboard and design boards.
final product
Based on feedback I received, I modified several elements of the prototype:
1) I removed the lightboxed screen share slides from the open navigation menu. Learner feedback outlined how including these slides in the menu was confusing since the next arrow on the Articulate navigation was linked to the lightboxed slides at the end.
2) Learners expressed that it would helpful to see which sections had been completed when visiting the main menu. I added project variables tracking completion of each of the two main sections. This way, learners had visual confirmation that they had completed a section.
3) I created a layer on the main menu slide triggered by the completion of both learning segments. Now, when the learner returned to the main menu, they have confirmation that they have successfully completed all learning materials in the training.